Baking with a banneton liner can elevate your bread-making experience, but it’s crucial to know how to clean it properly before first use. A clean banneton liner ensures your dough doesn’t stick, maintains its shape, and prevents any unwanted flavors from affecting your bread. Whether you’re a beginner or an experienced baker, understanding the correct cleaning process is essential for achieving professional results.
When you purchase a new banneton liner, it may have residues from manufacturing or storage. These residues, if not removed, can affect the quality of your bread. Proper cleaning not only removes impurities but also extends the lifespan of your liner. This guide will walk you through every step of the process, ensuring your banneton liner is ready for its first use.
In this article, we’ll cover everything from understanding what a banneton liner is, why cleaning is important, step-by-step instructions, and tips for maintaining it over time. By the end, you’ll have all the knowledge you need to keep your banneton liner in pristine condition for years to come.
Read also:How Much Does A Starbucks Franchise Cost
Table of Contents
- What is a Banneton Liner?
- Why Should You Clean a Banneton Liner Before First Use?
- Preparing for Cleaning
- Step-by-Step Cleaning Process
- Common Mistakes to Avoid
- Tips for Maintaining Your Banneton Liner
- Long-Term Care
- Alternatives to Banneton Liners
- Frequently Asked Questions
- Conclusion
What is a Banneton Liner?
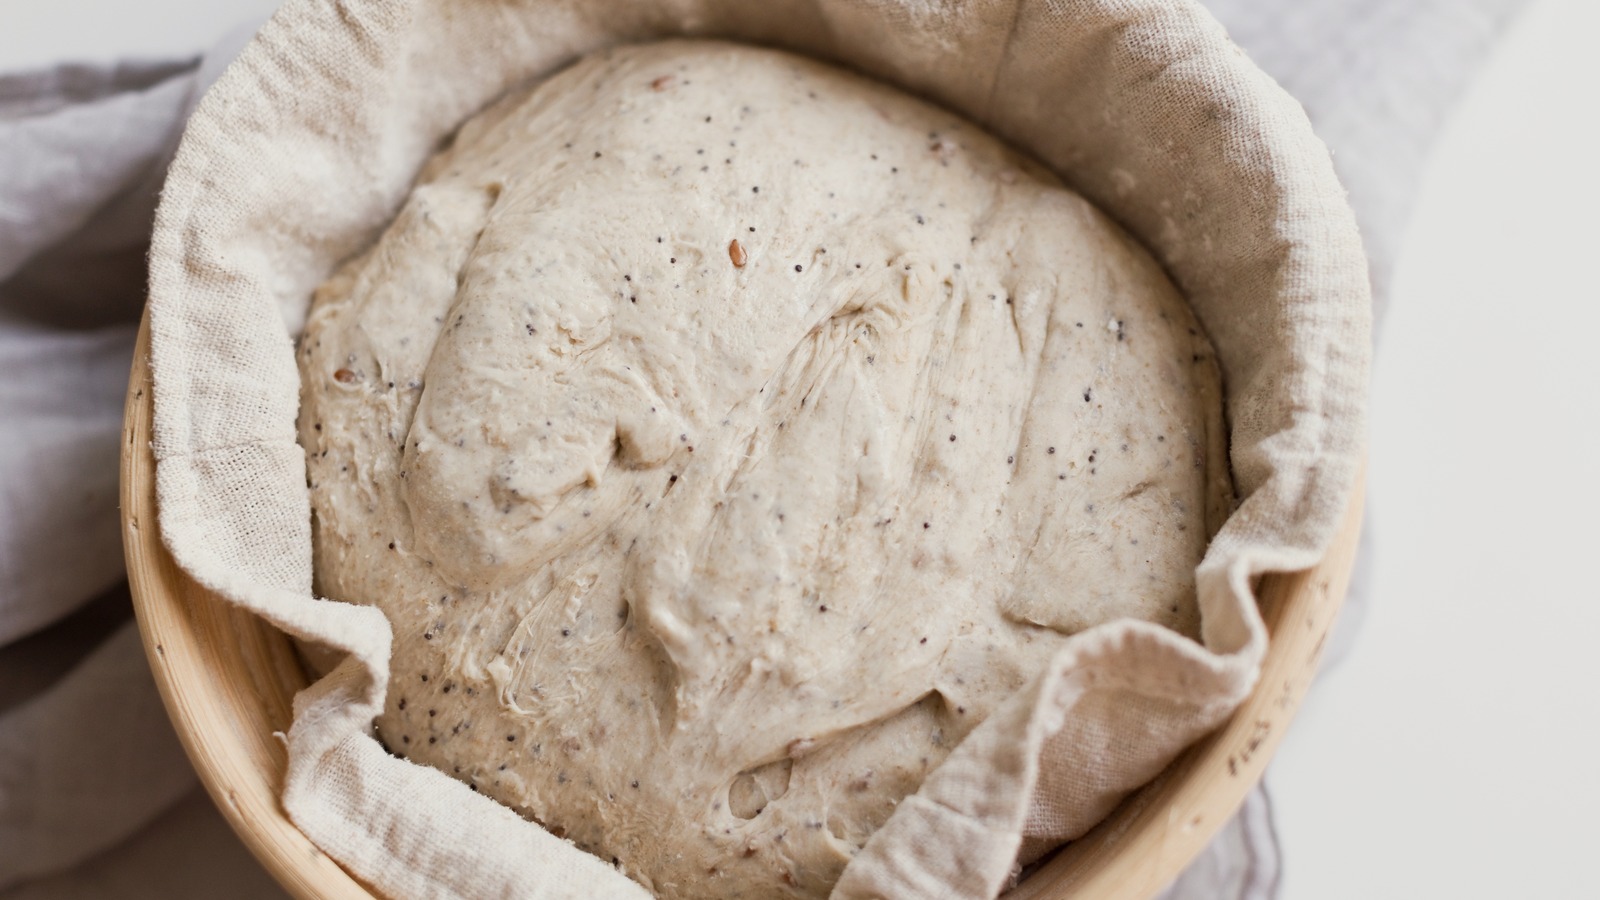
A banneton liner is a fabric or cloth material used inside a banneton (a proofing basket) to prevent dough from sticking and to add texture to the surface of the bread. Common materials include linen, canvas, or cotton, each chosen for their ability to absorb moisture and provide support to the dough during proofing. Banneton liners are essential for achieving a perfect loaf shape and preventing the dough from tearing.
Types of Banneton Liners
- Linen Liners: Known for their durability and ability to add intricate patterns to the bread crust.
- Cotton Liners: Softer and more absorbent, ideal for delicate dough.
- Canvas Liners: Sturdy and long-lasting, suitable for heavy dough.
Choosing the right liner depends on the type of bread you’re baking and your personal preference. Regardless of the material, proper cleaning is vital to ensure the liner performs optimally.
Why Should You Clean a Banneton Liner Before First Use?
When you buy a new banneton liner, it may have remnants from manufacturing processes, such as dust, loose threads, or chemicals used in production. These residues can affect the taste and quality of your bread. Cleaning the liner before first use removes these impurities, ensuring a clean and safe baking environment.
Health and Safety Considerations
Baking is a YMYL (Your Money or Your Life) topic, meaning it directly impacts people's health and well-being. A clean banneton liner reduces the risk of contamination and ensures that your bread is safe to consume. By following proper cleaning procedures, you protect yourself and your family from potential health hazards.
Preparing for Cleaning
Before you begin cleaning your banneton liner, gather the necessary tools and materials. Proper preparation ensures a smooth and effective cleaning process. Here’s what you’ll need:
- Mild dish soap or baking-specific cleaner
- Cold water (avoid hot water as it can damage the fabric)
- A soft-bristle brush or sponge
- Clean towels for drying
- A well-ventilated area for drying
Ensure your workspace is clean and free from any contaminants that could affect the liner during the cleaning process.
Read also:The Alphas Mate Rv Elliott A Captivating Journey Into The World Of Romance And Intrigue
Step-by-Step Cleaning Process
Cleaning your banneton liner for the first time requires attention to detail. Follow these steps to ensure thorough cleaning:
Step 1: Inspect the Liner
Begin by inspecting the liner for any visible dirt, loose threads, or imperfections. Remove any debris by gently shaking the liner or using a soft brush.
Step 2: Soak in Cold Water
Fill a basin or sink with cold water and submerge the liner. Let it soak for about 10-15 minutes to loosen any residues. Avoid using hot water, as it can cause the fabric to shrink or lose its shape.
Step 3: Gently Scrub
Using a mild dish soap or baking cleaner, gently scrub the liner with a soft-bristle brush or sponge. Focus on areas that may have accumulated more residue, but avoid excessive scrubbing to prevent damage to the fabric.
Step 4: Rinse Thoroughly
Rinse the liner under cold running water until all soap residue is removed. Ensure that no soap remains, as it can affect the taste of your bread.
Step 5: Dry Properly
After rinsing, gently squeeze out excess water without twisting the liner. Lay it flat on a clean towel and allow it to air dry in a well-ventilated area. Avoid direct sunlight, as it can cause fading or damage to the fabric.
Common Mistakes to Avoid
While cleaning a banneton liner may seem straightforward, there are common mistakes that can compromise its quality and performance. Here are a few to avoid:
- Using Hot Water: Hot water can damage the fabric and cause it to shrink.
- Excessive Scrubbing: Over-scrubbing can wear down the fibers and reduce the liner’s lifespan.
- Machine Washing: Washing machines can be too harsh for delicate banneton liners. Always hand wash for best results.
- Improper Drying: Drying in direct sunlight or using a dryer can cause discoloration and damage to the fabric.
Tips for Maintaining Your Banneton Liner
Proper maintenance extends the lifespan of your banneton liner and ensures consistent performance. Here are some tips to keep your liner in top condition:
- Regular Cleaning: Clean the liner after each use to prevent buildup of dough residue.
- Storage: Store the liner in a clean, dry place to prevent mold and mildew.
- Rotation: If you have multiple liners, rotate their use to allow each one to rest and recover.
- Inspection: Regularly inspect the liner for wear and tear, and replace it if necessary.
Long-Term Care
For long-term care, consider the following:
Seasonal Cleaning
Even if you clean your liner regularly, perform a deep clean every few months to remove any stubborn residues. This ensures the liner remains in optimal condition.
Replacement Schedule
Over time, banneton liners can wear out. Depending on usage, replace your liner every 1-2 years to maintain bread quality and texture.
Alternatives to Banneton Liners
If you’re looking for alternatives to traditional banneton liners, consider these options:
- Parchment Paper: Non-stick and disposable, ideal for single-use applications.
- Cheesecloth: Lightweight and breathable, perfect for delicate dough.
- Silicone Mats: Durable and easy to clean, though they may not add texture to the bread.
Each alternative has its pros and cons, so choose based on your specific baking needs.
Frequently Asked Questions
Q1: Can I machine wash my banneton liner?
No, it’s best to hand wash your banneton liner to avoid damage from the washing machine’s agitation and heat.
Q2: How often should I clean my banneton liner?
It’s recommended to clean your liner after each use to prevent residue buildup and maintain hygiene.
Q3: What happens if I don’t clean my banneton liner?
Unclean liners can lead to dough sticking, unpleasant flavors, and potential contamination, affecting the quality of your bread.
Conclusion
Cleaning your banneton liner before first use is a critical step in ensuring high-quality bread and a long-lasting liner. By following the steps outlined in this guide, you can remove manufacturing residues, prevent contamination, and enhance the performance of your liner. Remember to maintain your liner regularly and replace it when necessary to achieve consistent results.
We invite you to share your experiences with cleaning banneton liners in the comments below. Have you tried any of the alternatives mentioned? Let us know! And don’t forget to explore our other articles on baking tips and tricks for more inspiration.
References: