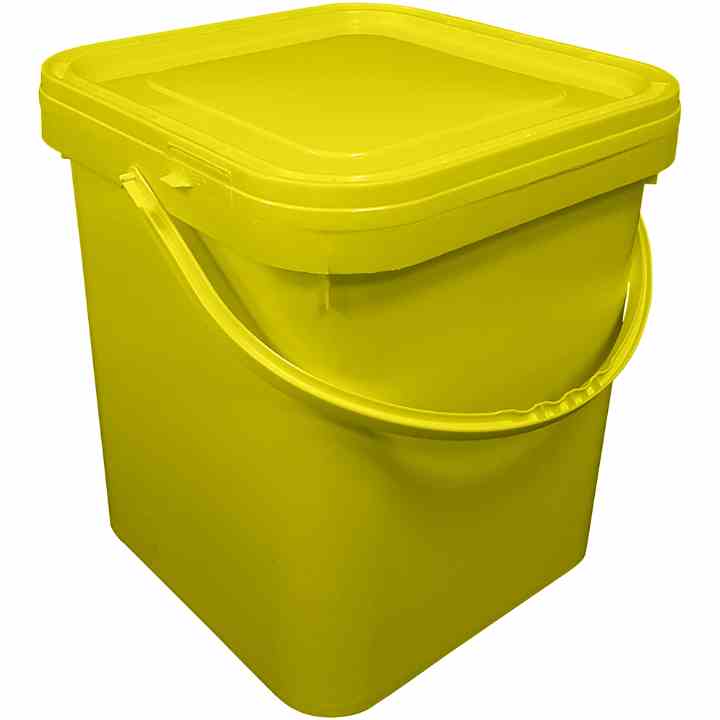
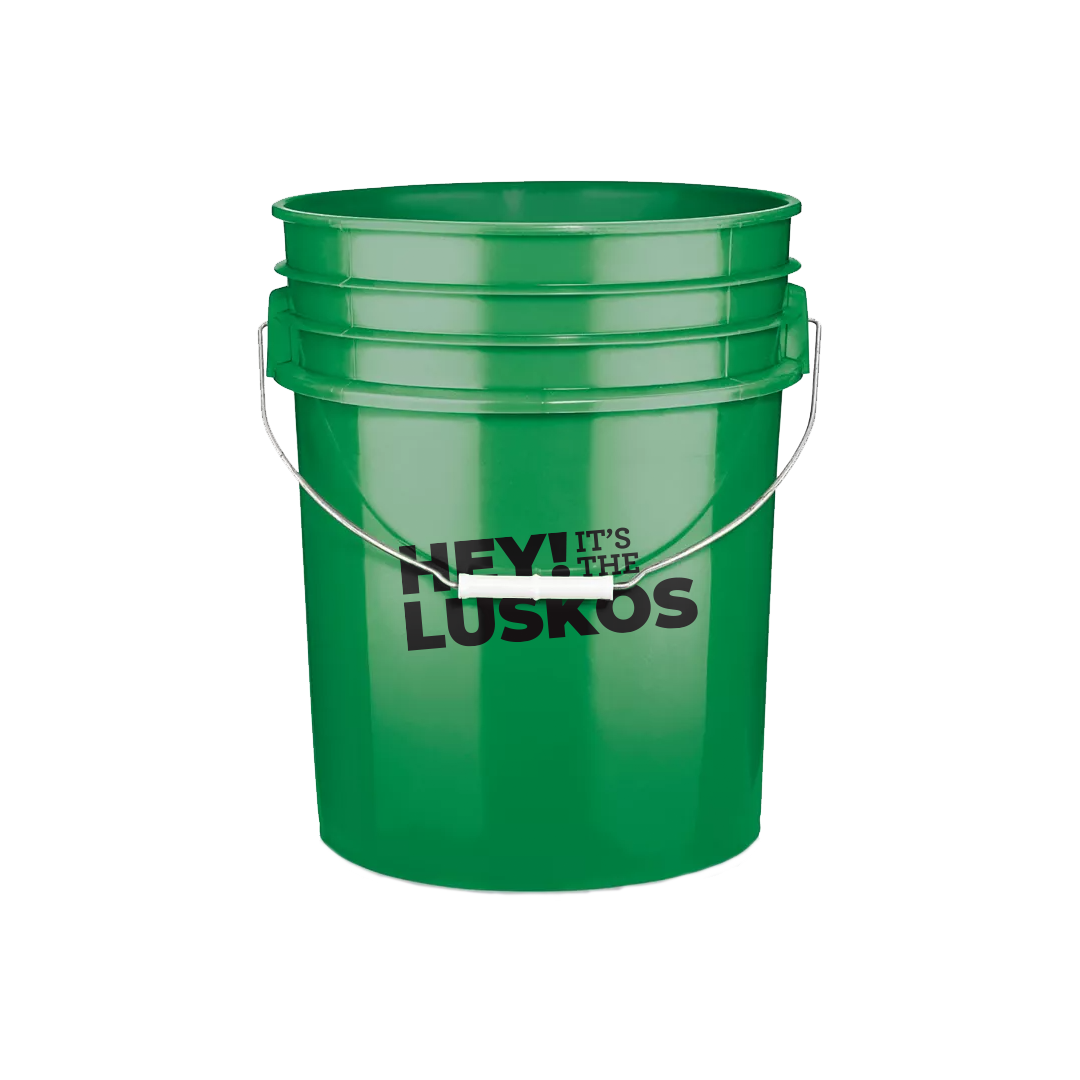
Imagine turning a simple 5-gallon bucket into an elegant, functional mailbox that adds character to your home exterior. This creative idea has become increasingly popular among homeowners looking for cost-effective and customizable mailbox solutions. Whether you're a DIY enthusiast or simply want to upgrade your curb appeal, the 5-gallon bucket mailbox offers endless possibilities.
As the demand for unique mailbox designs grows, people are turning to unconventional methods to personalize their outdoor spaces. One such innovation is transforming a standard 5-gallon bucket into a mailbox. This simple yet effective solution is not only budget-friendly but also allows for endless customization options.
This article will guide you through everything you need to know about creating and using a 5-gallon bucket mailbox. From the tools required to expert tips and tricks, we'll cover all aspects of this innovative project. Let's dive in and explore how you can turn a humble bucket into a stunning mailbox that enhances your property's aesthetic appeal.
Read also:Tortillas Para Flautas The Ultimate Guide To Making Perfect Flautas
Table of Contents:
- Introduction
- History of the 5-Gallon Bucket Mailbox
- Benefits of Using a 5-Gallon Bucket Mailbox
- Tools and Materials Needed
- Step-by-Step Guide to Making a 5-Gallon Bucket Mailbox
- Customization Ideas
- Durability and Maintenance
- Cost Comparison
- Regulations and Compliance
- Conclusion
History of the 5-Gallon Bucket Mailbox
The concept of using a 5-gallon bucket as a mailbox is not as recent as one might think. Historically, people have always looked for creative ways to repurpose everyday items. The 5-gallon bucket, originally designed for industrial use, quickly gained popularity due to its durability and versatility. Over time, DIY enthusiasts discovered its potential as a mailbox, leading to the rise of this innovative trend.
Initially, the idea was born out of necessity. Homeowners in rural areas, where traditional mailboxes were either too expensive or unsuitable for harsh weather conditions, began experimenting with alternative solutions. The 5-gallon bucket, with its robust structure and availability, proved to be an ideal choice.
Evolution of DIY Mailboxes
As the trend gained traction, more people started sharing their creations online, inspiring others to join the movement. Today, the 5-gallon bucket mailbox is not just a functional item but also a statement piece that reflects the homeowner's personality and style.
Benefits of Using a 5-Gallon Bucket Mailbox
There are numerous advantages to choosing a 5-gallon bucket mailbox over traditional options. Below are some of the key benefits:
- Cost-Effective: 5-gallon buckets are inexpensive and often available for free from local businesses.
- Durability: Made from high-density polyethylene, these buckets are resistant to weather elements, ensuring longevity.
- Customization: You can paint, stencil, or add decorative elements to make your mailbox unique.
- Sustainability: Repurposing a bucket reduces waste and promotes eco-friendly practices.
These benefits make the 5-gallon bucket mailbox a practical and appealing choice for homeowners seeking both functionality and style.
Read also:Pickle Fest Corpus Christi A Unique Celebration Of Pickles And Community
Tools and Materials Needed
Creating a 5-gallon bucket mailbox is a straightforward process that requires minimal tools and materials. Here's what you'll need:
Materials
- 5-gallon bucket (food-grade, if possible)
- Wooden post or metal stake for mounting
- Drill with various bits
- Screwdriver and screws
- Paint and primer (optional)
- Weatherproof sealant
Tools
- Saw or jigsaw for cutting
- Hole saw for creating the mailbox slot
- Sandpaper for smoothing edges
- Measuring tape
Having the right tools and materials on hand will ensure a smoother and more efficient building process.
Step-by-Step Guide to Making a 5-Gallon Bucket Mailbox
Follow these steps to create your own 5-gallon bucket mailbox:
Step 1: Prepare the Bucket
Clean the bucket thoroughly to remove any residue. If you're planning to paint it, apply a coat of primer first to ensure better adhesion.
Step 2: Create the Mail Slot
Using a hole saw, cut a slot on the side of the bucket where the mail will be inserted. Ensure the slot is large enough to accommodate standard envelopes and packages.
Step 3: Mount the Bucket
Secure the bucket to a wooden post or metal stake using screws. Make sure it's mounted at a height that's convenient for both the mail carrier and yourself.
Step 4: Add Weatherproofing
Apply a weatherproof sealant around the edges and the mail slot to protect the contents from moisture and other elements.
Step 5: Customize
Paint or decorate your mailbox to match your home's exterior. This is where you can get creative and make it truly unique.
By following these steps, you'll have a functional and stylish mailbox in no time.
Customization Ideas
One of the greatest advantages of a 5-gallon bucket mailbox is its potential for customization. Here are some ideas to inspire your creativity:
- Paint the bucket with vibrant colors or intricate designs.
- Use stencils to add personal touches, such as your house number or name.
- Attach decorative elements like metal accents or faux flowers.
- Create a themed mailbox, such as nautical or rustic, to complement your home's style.
Let your imagination run wild and create a mailbox that reflects your personality.
Durability and Maintenance
The durability of a 5-gallon bucket mailbox largely depends on the quality of the materials used and the level of maintenance. High-density polyethylene buckets are known for their resistance to UV rays, temperature changes, and moisture, making them suitable for outdoor use.
Maintenance Tips
- Regularly inspect the mailbox for any signs of wear and tear.
- Reapply weatherproof sealant as needed to maintain its integrity.
- Keep the mail slot clean to prevent debris from accumulating.
With proper care, your 5-gallon bucket mailbox can last for years, providing reliable service and enhancing your home's curb appeal.
Cost Comparison
When compared to traditional mailboxes, the 5-gallon bucket option offers significant cost savings. According to a study by the U.S. Postal Service, the average cost of a standard mailbox ranges from $20 to $100, depending on the material and design. In contrast, a 5-gallon bucket can be acquired for as little as $5, with additional costs for tools and materials totaling around $20.
This cost-effective solution is especially appealing to budget-conscious homeowners who want a stylish mailbox without breaking the bank.
Regulations and Compliance
Before installing a 5-gallon bucket mailbox, it's essential to ensure compliance with local regulations and postal service guidelines. The U.S. Postal Service requires mailboxes to meet specific standards, including size, height, and accessibility. Check with your local post office to confirm that your mailbox meets these requirements.
Key Regulations
- Mailbox height should be between 41 and 45 inches from the ground to the bottom of the mail slot.
- The mailbox must be easily accessible for mail carriers.
- It should be securely mounted to prevent tipping or damage.
Adhering to these regulations will ensure your mailbox functions effectively and avoids any potential issues.
Conclusion
In conclusion, the 5-gallon bucket mailbox offers a practical, cost-effective, and customizable solution for homeowners seeking to enhance their property's curb appeal. From its humble beginnings as an industrial container to its current status as a popular DIY project, this innovative idea continues to inspire creativity and resourcefulness.
We encourage you to try this project and share your results with the community. Whether you're looking to save money, reduce waste, or simply express your personal style, the 5-gallon bucket mailbox is a fantastic option. Don't forget to leave a comment or share this article with others who might find it helpful. Happy crafting!
For more information on DIY projects and home improvement tips, explore our other articles and resources. Let's continue to inspire and empower each other in our creative journeys.