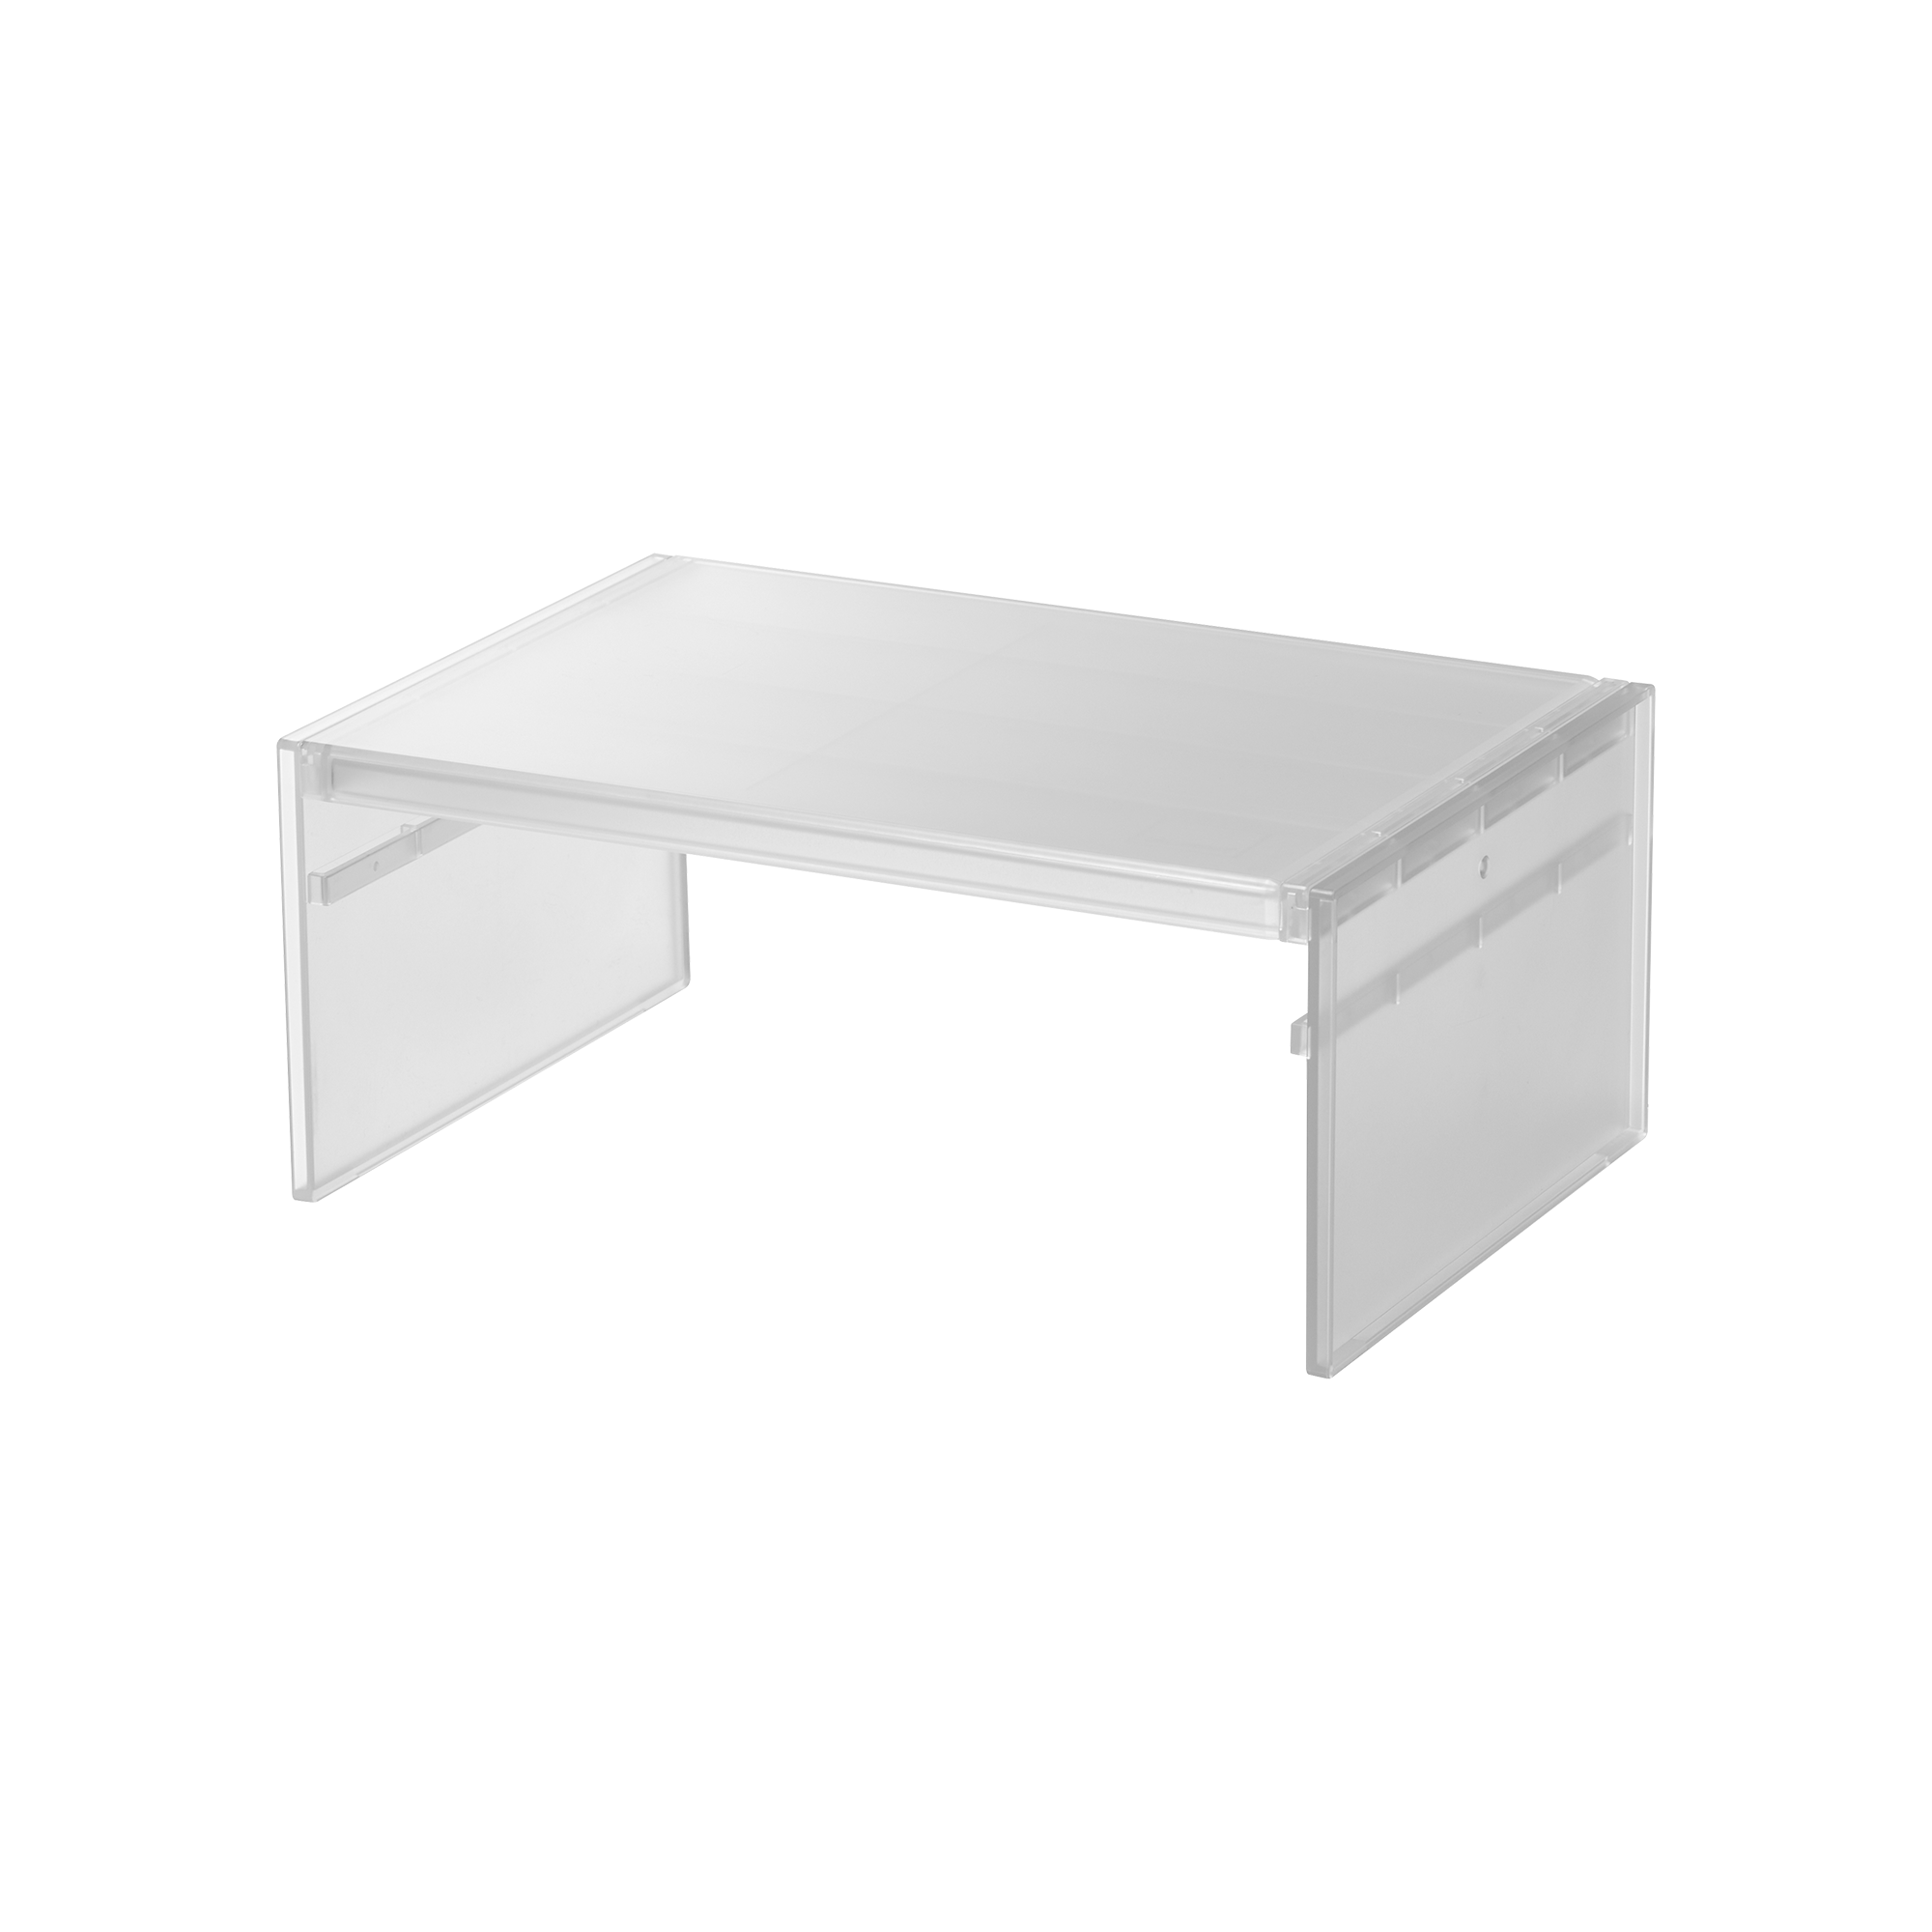
Creating a DIY riser shelf is an excellent way to add both functionality and aesthetic appeal to your living space. Whether you're aiming to elevate your kitchen organization or enhance your living room decor, a riser shelf can transform any area effortlessly. With the right tools and materials, you can build a stylish and practical riser shelf tailored to your needs.
Riser shelves are versatile pieces of furniture that not only serve as decorative elements but also provide additional storage space. They can be used in kitchens, bathrooms, living rooms, or even outdoor spaces to create layered displays for plants, books, or decorative items. The beauty of making your own riser shelf lies in the customization options available, ensuring it fits perfectly into your home's design.
In this article, we will guide you through the process of creating your own DIY riser shelf, from planning and gathering materials to assembling and installing the final product. Whether you're a seasoned DIY enthusiast or a beginner looking to take on your first project, this guide will provide all the information you need to succeed.
Read also:Leana Deeb Erome A Comprehensive Guide To Her Life Career And Impact
Table of Contents
- Introduction to DIY Riser Shelves
- Benefits of Building a DIY Riser Shelf
- Tools and Materials Needed
- Planning Your DIY Riser Shelf
- Construction Process
- Customizing Your Riser Shelf
- Installation Tips
- Maintaining Your Riser Shelf
- Troubleshooting Common Issues
- Conclusion and Call to Action
Introduction to DIY Riser Shelves
A riser shelf is a unique piece of furniture designed to elevate objects, creating a visually appealing display while maximizing space efficiency. By building your own riser shelf, you gain the freedom to customize its size, shape, and style to match your personal taste and the specific needs of your space. This project is perfect for those who enjoy crafting and want to add a personal touch to their home decor.
Why Choose a DIY Approach?
Opting for a DIY riser shelf offers several advantages over purchasing a pre-made one. First, it allows you to control the design and materials used, ensuring the final product aligns with your vision. Additionally, building your own shelf can be more cost-effective, especially if you already have some of the necessary tools and materials on hand. Lastly, the satisfaction of completing a DIY project is unparalleled and can boost your confidence in tackling future home improvement tasks.
Benefits of Building a DIY Riser Shelf
There are numerous benefits to creating a DIY riser shelf for your home. Here are some of the most significant advantages:
- Customization options allow you to tailor the shelf to your specific needs and preferences.
- Cost savings compared to buying a pre-made shelf, especially when using recycled or leftover materials.
- Improved organization and storage solutions for your living spaces.
- Enhanced aesthetic appeal through personalized design choices.
- Development of valuable skills in woodworking and home improvement.
Tools and Materials Needed
Before starting your DIY riser shelf project, it's essential to gather all the necessary tools and materials. Having everything prepared beforehand will make the process smoother and more efficient.
Tools
- Saw (hand saw or power saw)
- Measuring tape
- Screwdriver
- Drill
- Sander
- Level
Materials
- Wood planks (choose the type and size based on your design)
- Screws
- Wood glue
- Paint or stain (optional)
- Mounting hardware
Planning Your DIY Riser Shelf
Proper planning is crucial to the success of your DIY riser shelf project. Begin by determining the purpose and location of the shelf. Will it be used in the kitchen to display cookbooks, or in the living room to showcase decorative items? The intended use will influence the size, shape, and materials you choose.
Design Considerations
Consider the following factors when designing your riser shelf:
Read also:Arbys Tartar Sauce The Ultimate Guide To Flavor And Success
- Dimensions: Measure the available space to ensure the shelf fits perfectly.
- Style: Choose a style that complements your existing decor, such as rustic, modern, or minimalist.
- Load Capacity: Determine the weight the shelf will need to support and select appropriate materials.
Construction Process
Once you have your tools and materials ready and your design planned, it's time to start constructing your DIY riser shelf. Follow these steps to ensure a successful build:
Step 1: Cut the Wood
Using your saw, cut the wood planks to the desired dimensions. Make sure all cuts are straight and precise for a professional finish.
Step 2: Assemble the Frame
Attach the side panels to the base using wood glue and screws. Ensure the frame is square and level before proceeding.
Step 3: Add the Shelves
Install the shelves onto the frame, spacing them evenly according to your design. Secure them with screws and wood glue for added stability.
Customizing Your Riser Shelf
Personalizing your riser shelf is where the fun begins. You can choose to paint or stain the wood to match your home's color scheme or leave it natural for a rustic look. Consider adding decorative elements such as trim or molding to enhance the shelf's appearance.
Color Options
When selecting a color for your riser shelf, consider the following:
- Neutral tones like white or gray for a timeless look.
- Bold colors to make a statement in your space.
- Natural wood finishes for a warm, organic feel.
Installation Tips
Proper installation is key to ensuring your DIY riser shelf functions safely and effectively. Follow these tips for a successful installation:
Step 1: Choose the Right Location
Select a spot that provides adequate support and is easily accessible for your intended use.
Step 2: Secure the Shelf
Use mounting hardware to attach the shelf securely to the wall. Ensure all screws are tightened and the shelf is level.
Maintaining Your Riser Shelf
To keep your DIY riser shelf looking its best, regular maintenance is necessary. Clean the surface regularly with a soft cloth and mild cleaner. If you notice any damage or wear, repair it promptly to prevent further issues.
Repair Tips
If your riser shelf requires repairs, consider the following:
- Reinforce joints with additional screws or glue.
- Touch up any scratches or chips with matching paint or stain.
- Replace damaged hardware if necessary.
Troubleshooting Common Issues
Even with careful planning and execution, issues may arise during your DIY riser shelf project. Here are some common problems and solutions:
Problem: Uneven Shelf
Solution: Double-check your measurements and use a level to ensure the shelf is even before securing it in place.
Problem: Weak Joints
Solution: Reinforce joints with additional screws or wood glue for added stability.
Conclusion and Call to Action
Building a DIY riser shelf is a rewarding project that can enhance both the functionality and aesthetics of your home. By following the steps outlined in this guide, you can create a custom riser shelf that meets your unique needs and preferences. Remember to plan carefully, gather the necessary tools and materials, and take your time during the construction process to ensure a high-quality result.
We encourage you to share your experience with this project in the comments below. Have you built a riser shelf before? What tips do you have for fellow DIY enthusiasts? Additionally, feel free to explore our other articles for more home improvement ideas and inspiration. Happy building!